
LEXIS Projects and Resources #
The LEXIS Computational Project is the basic organisation unit. You cannot save data or run computations without the project. This section describes all the necessary basics of how to get yourself into the project and how to set it up to get the maximum out of it.
When you log in while you do not own any project or you are not a member of any project, you will see a screen asking you to either join or create a project.
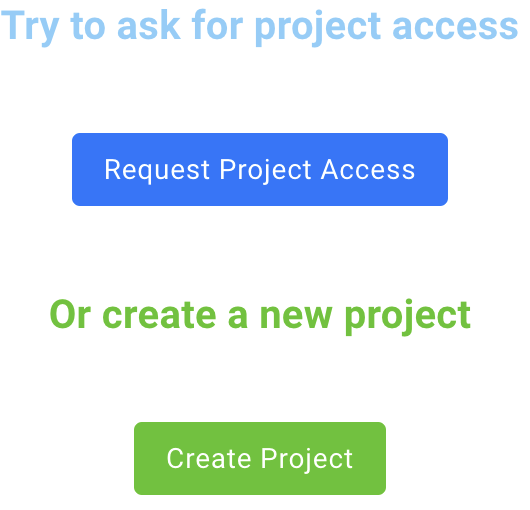
Please refer to appropriate sections if you require any help.
Projects section#
The Projects section serves as the hub for all your project needs. It is accessible from the main Menu.
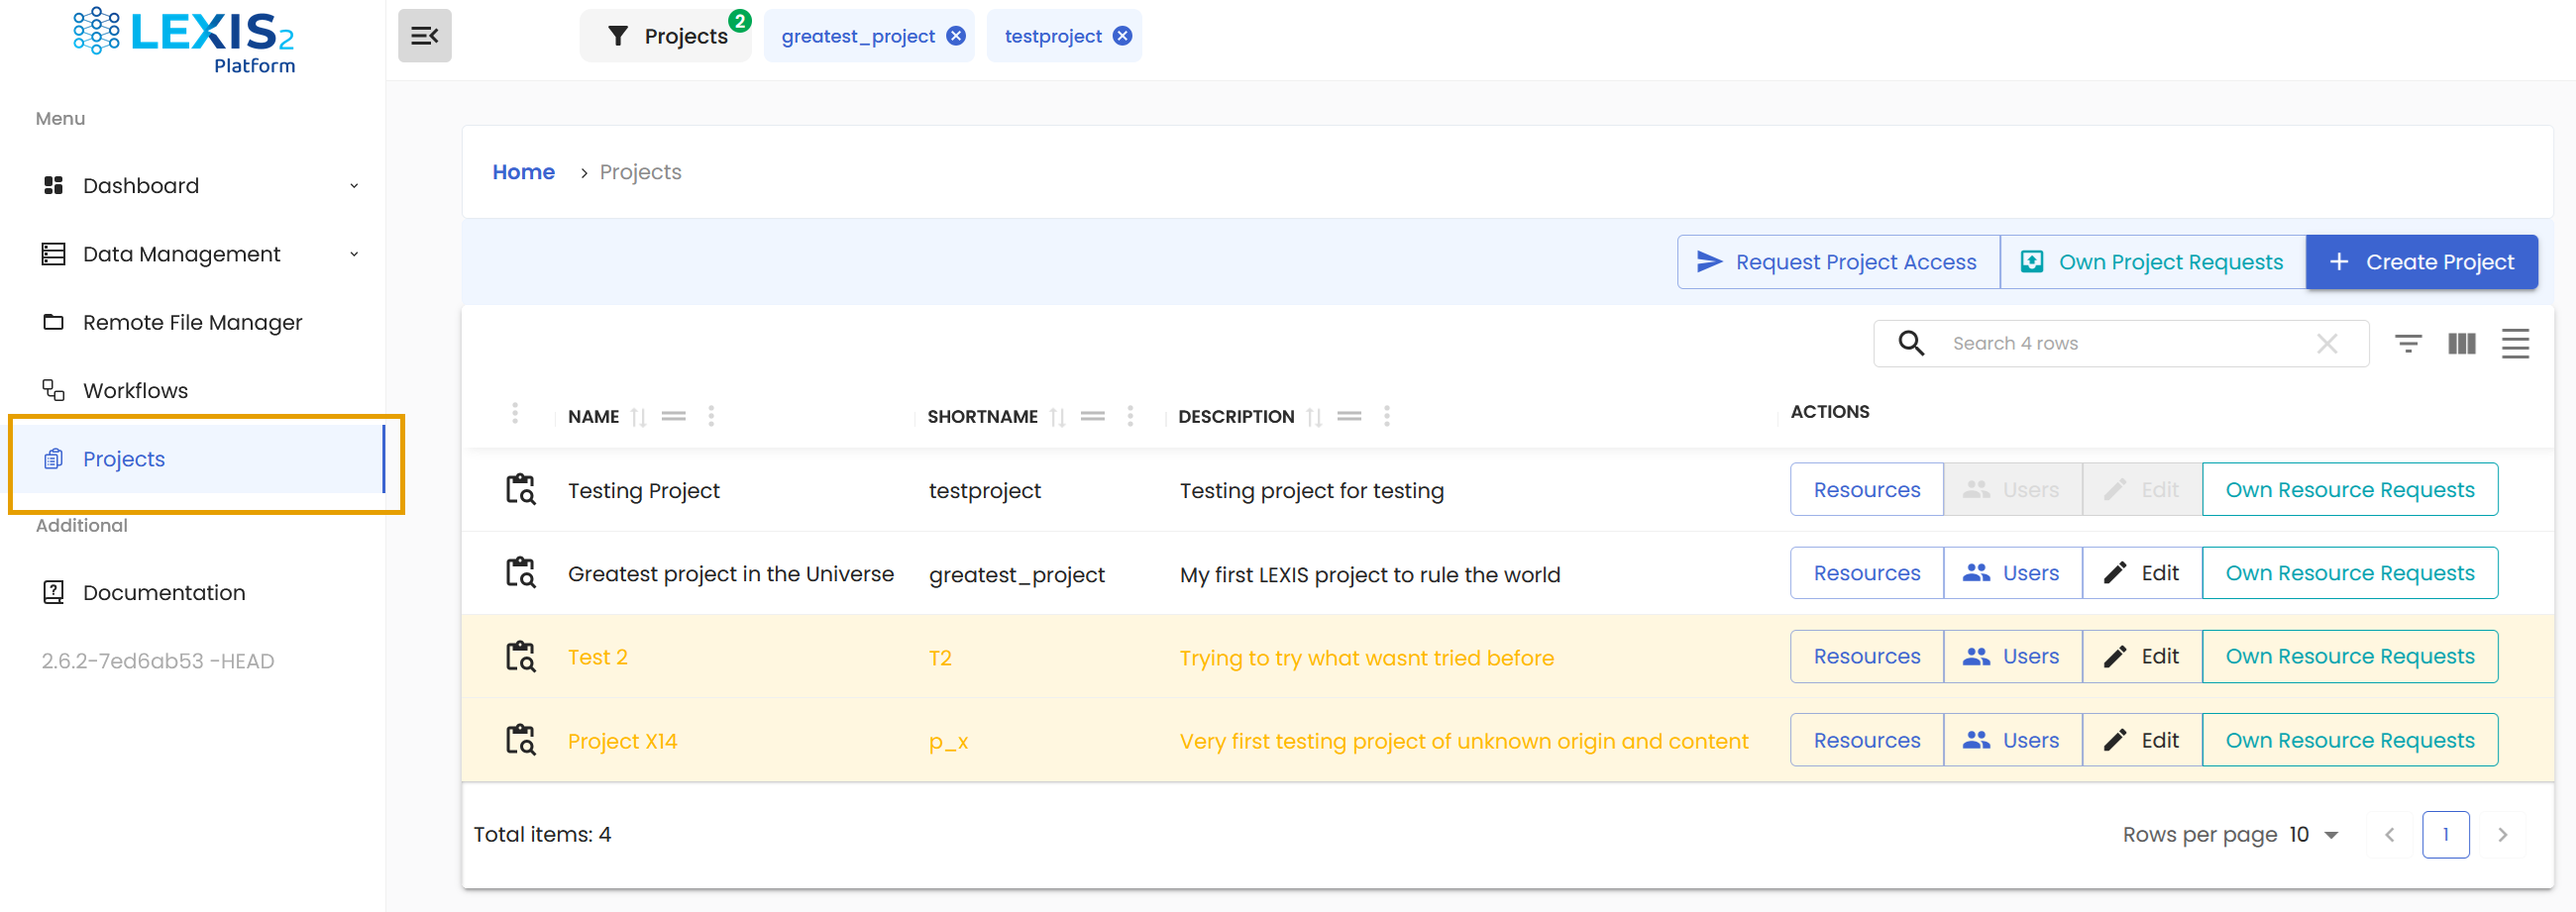
Here, you can see the list of all the projects you are part of. The expired projects are listed here as well, but they are made visually distinct.
Naturally, there are certain functions to make the work in this section more comfortable.
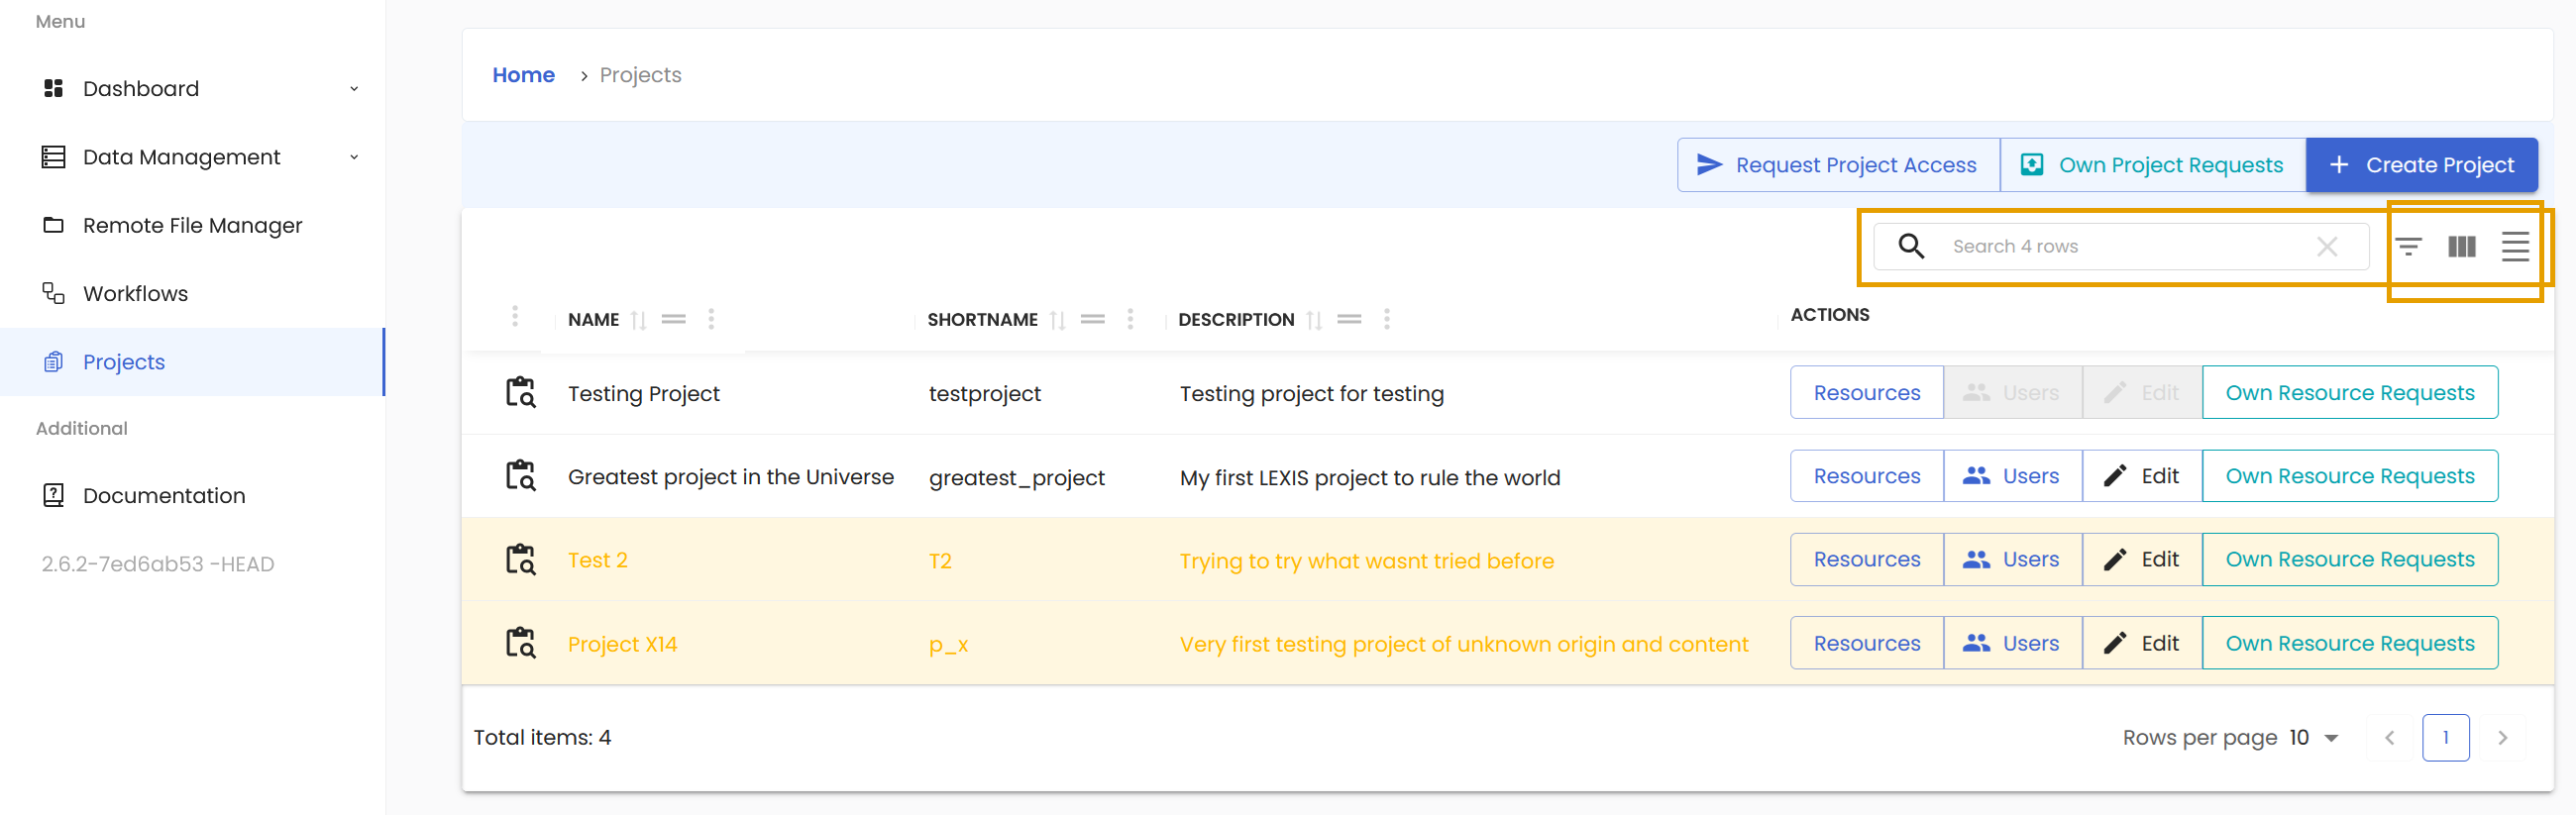
Like the search function to find the correct project. Next to it is a Filter button to turn the filters for the columns On or Off. This button is followed by two more buttons to change the layout to your liking.
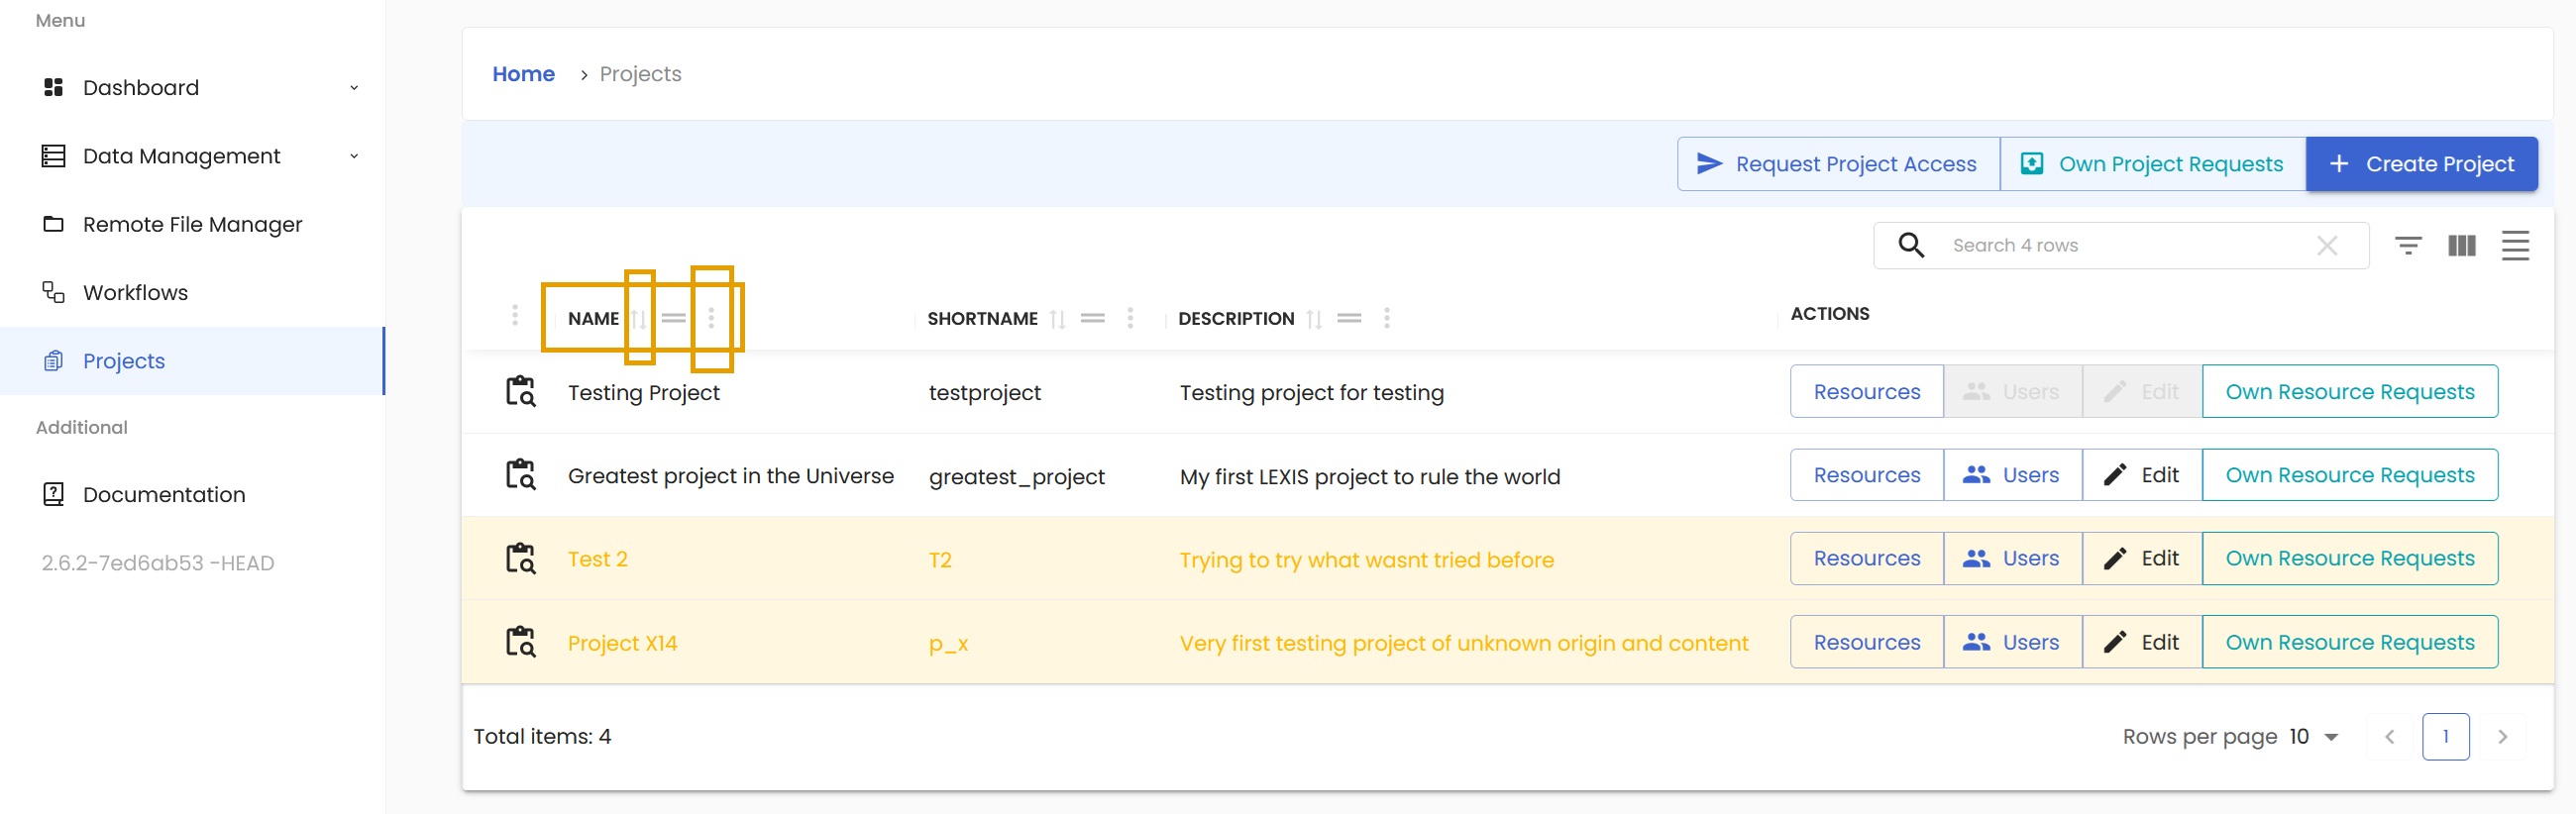
The columns can be sorted quickly with the Arrows button. You can group the projects with respect to the chosen variable with the button next to it. Or you can access even more options with the three dots button.
Final part worth mentioning is the Projects section at the top.
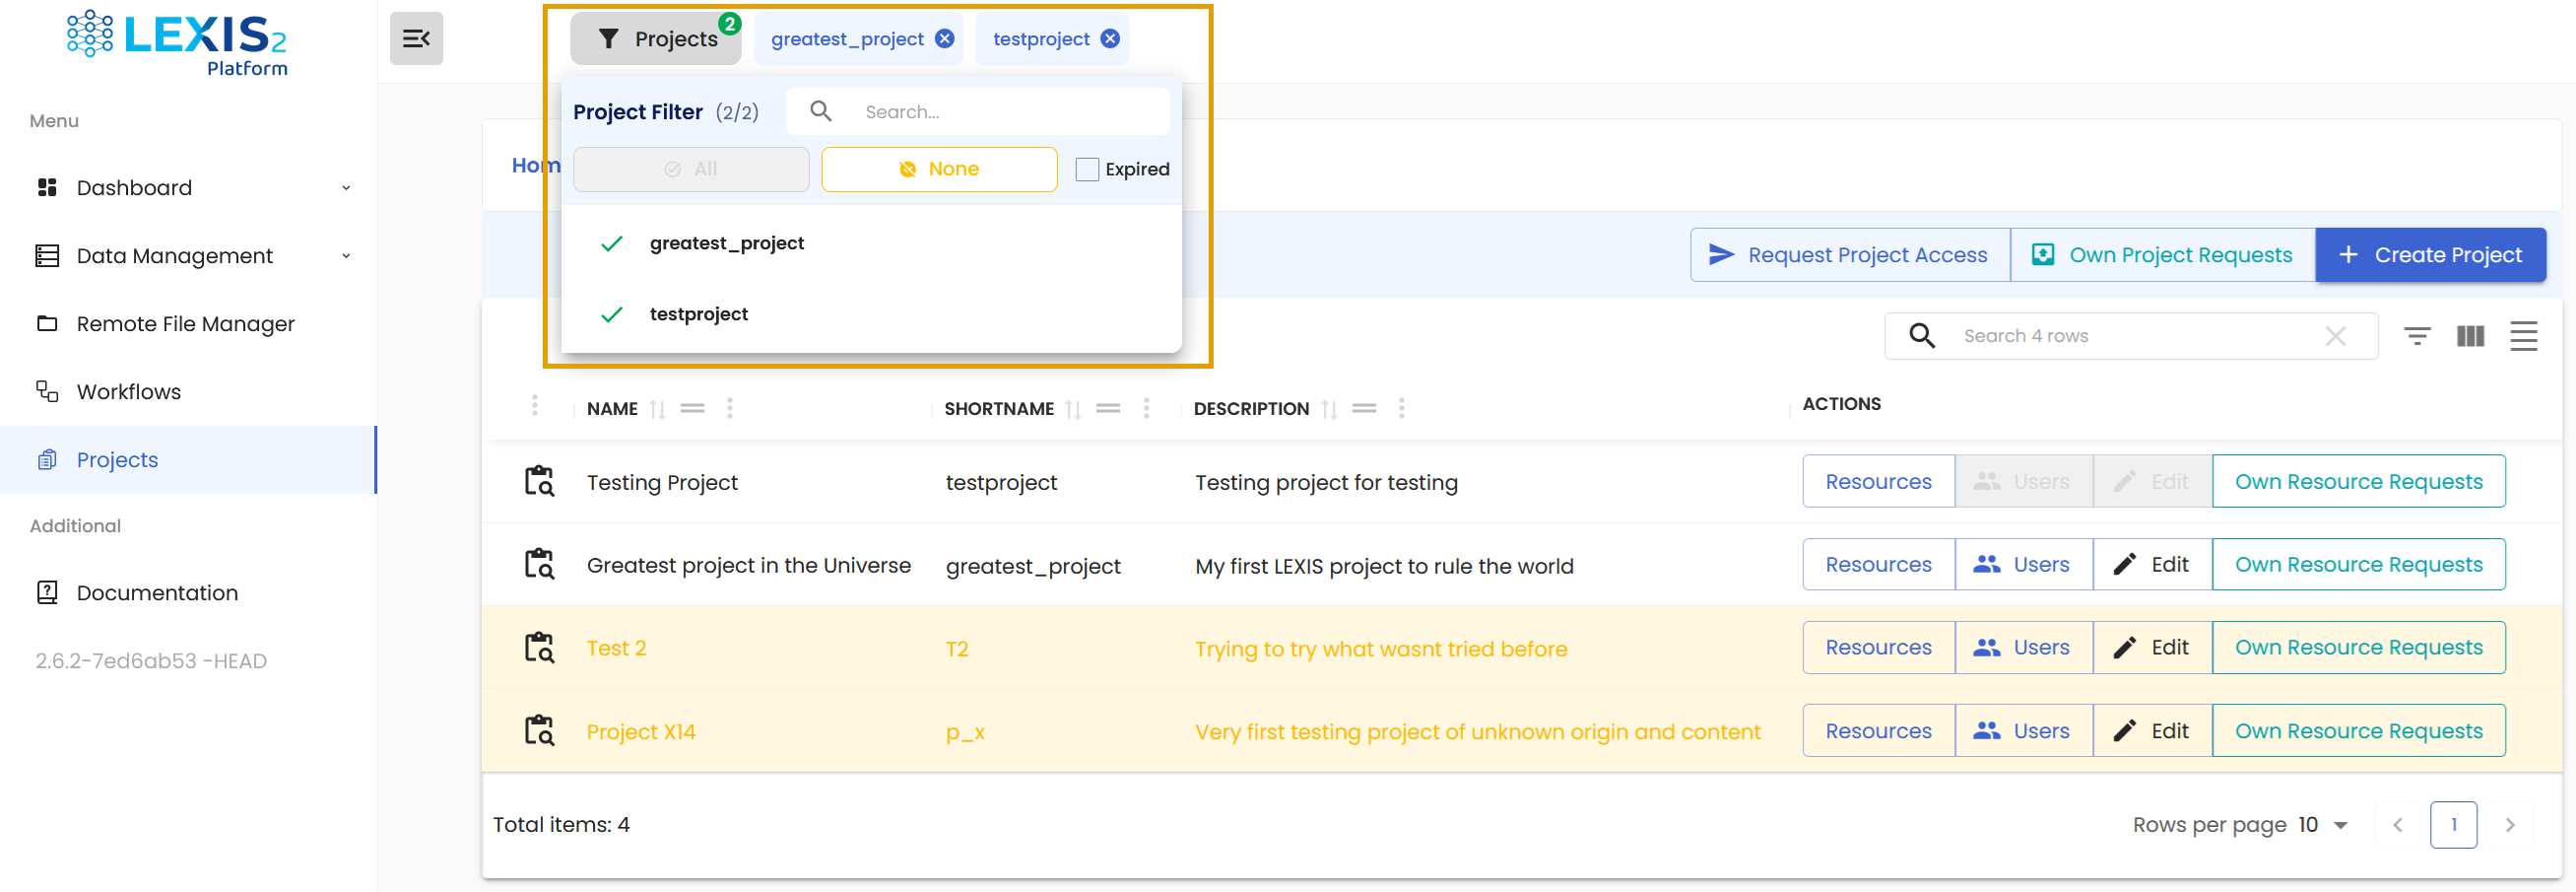
This section is visible throughout the whole LEXIS Platform. It is a fast way to limit what projects you can see at once. You can even show the expired projects, though they are hidden by default. They will have different colour, so you will instantly recognise them.
Creation of LEXIS Project#
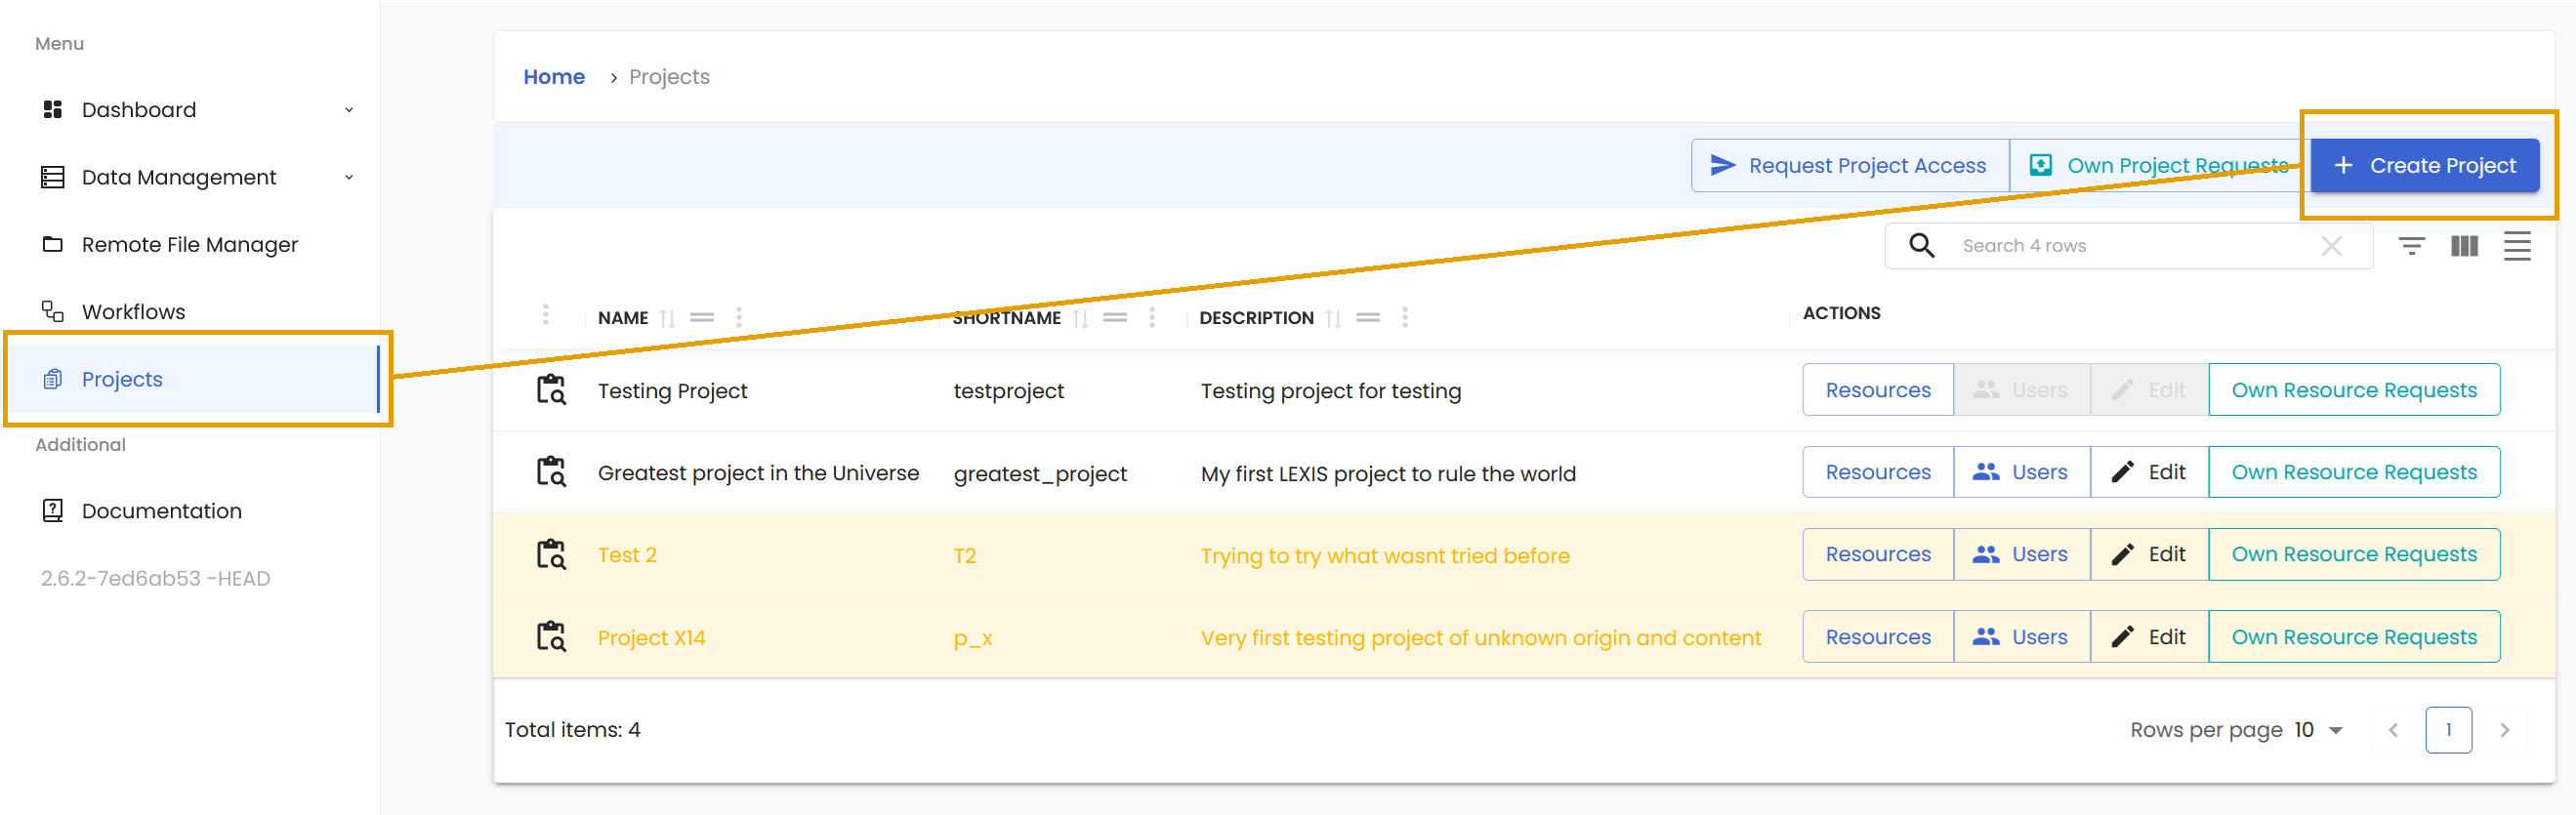
Creating a project is fast and intuitive. As you might have expected, we start in the Projects section. At the top right area of this section, you can find the Create Project button.
When you click it, the form will pop up. All the fields are required, so fill them in. When you start filling the field, a hint will be displayed saying what is actually expected of you. Once all fields are filled, hit the Create button.
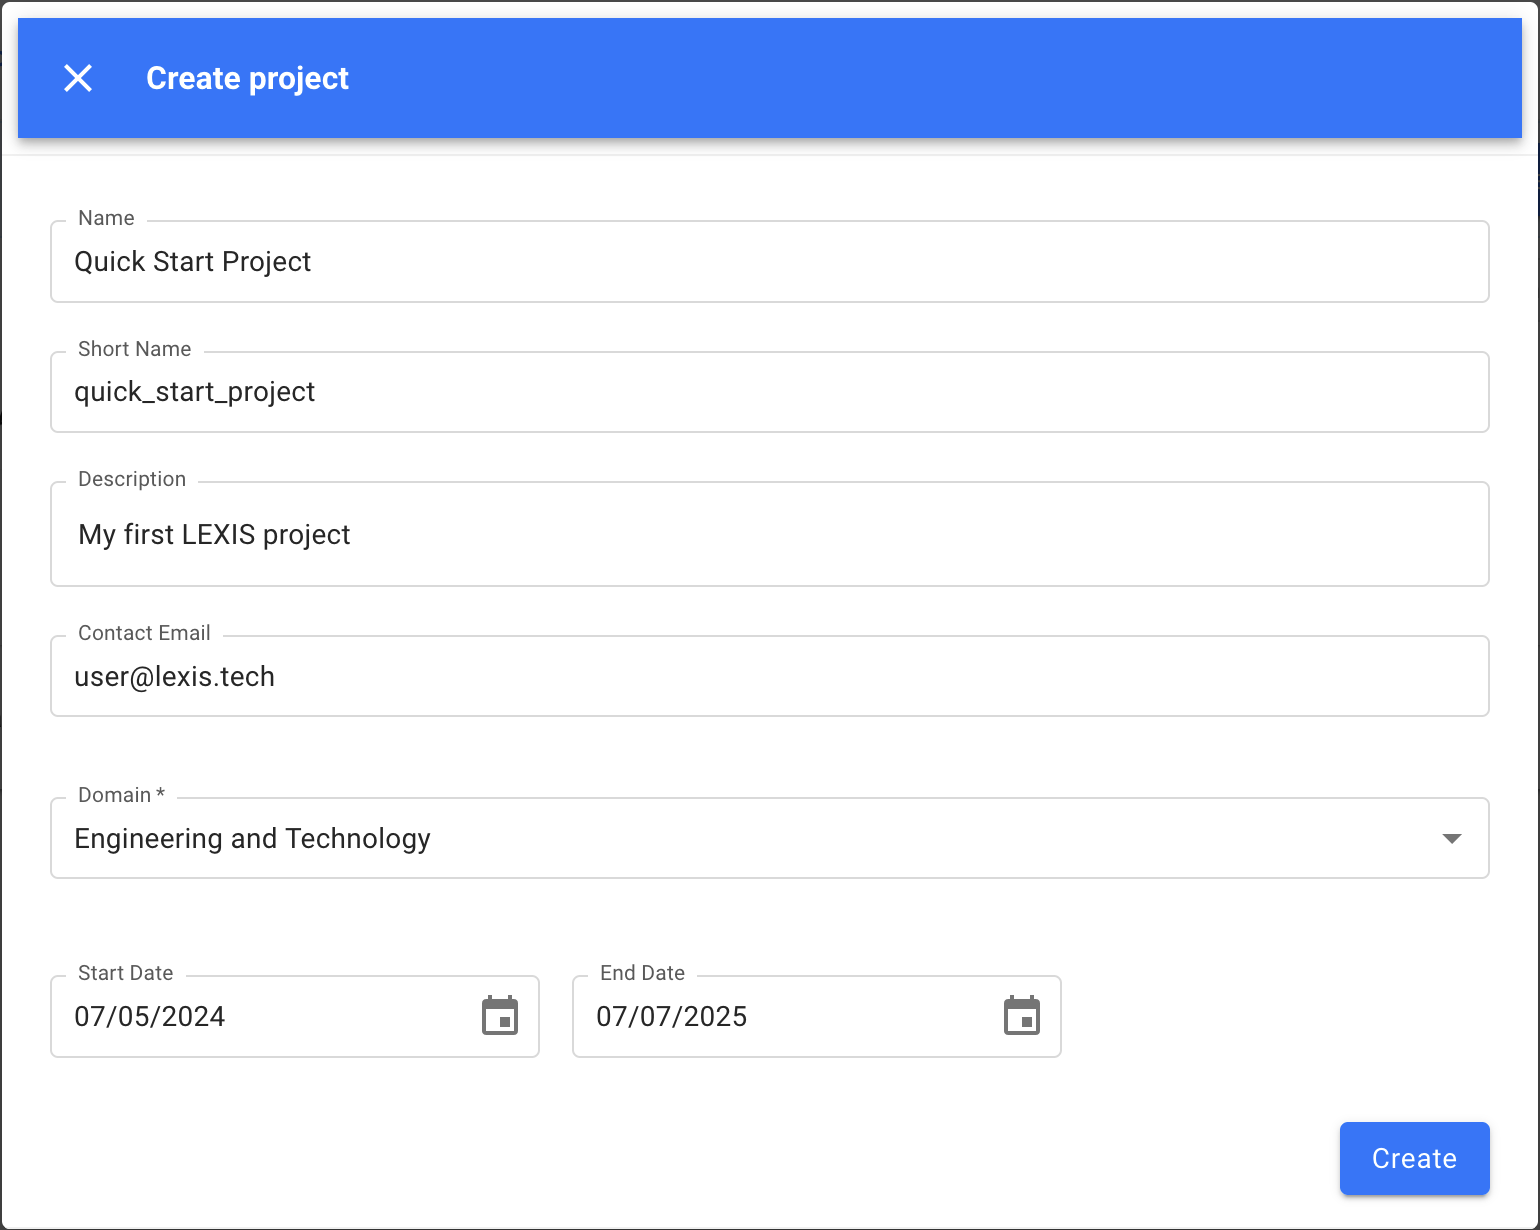
The newly created project will be added to your list of projects in the Projects section and to the upper area as well.
Requesting access to existing LEXIS Project#
If you do not want to experience the thrills of creating your very own project, simply request an access to existing project.
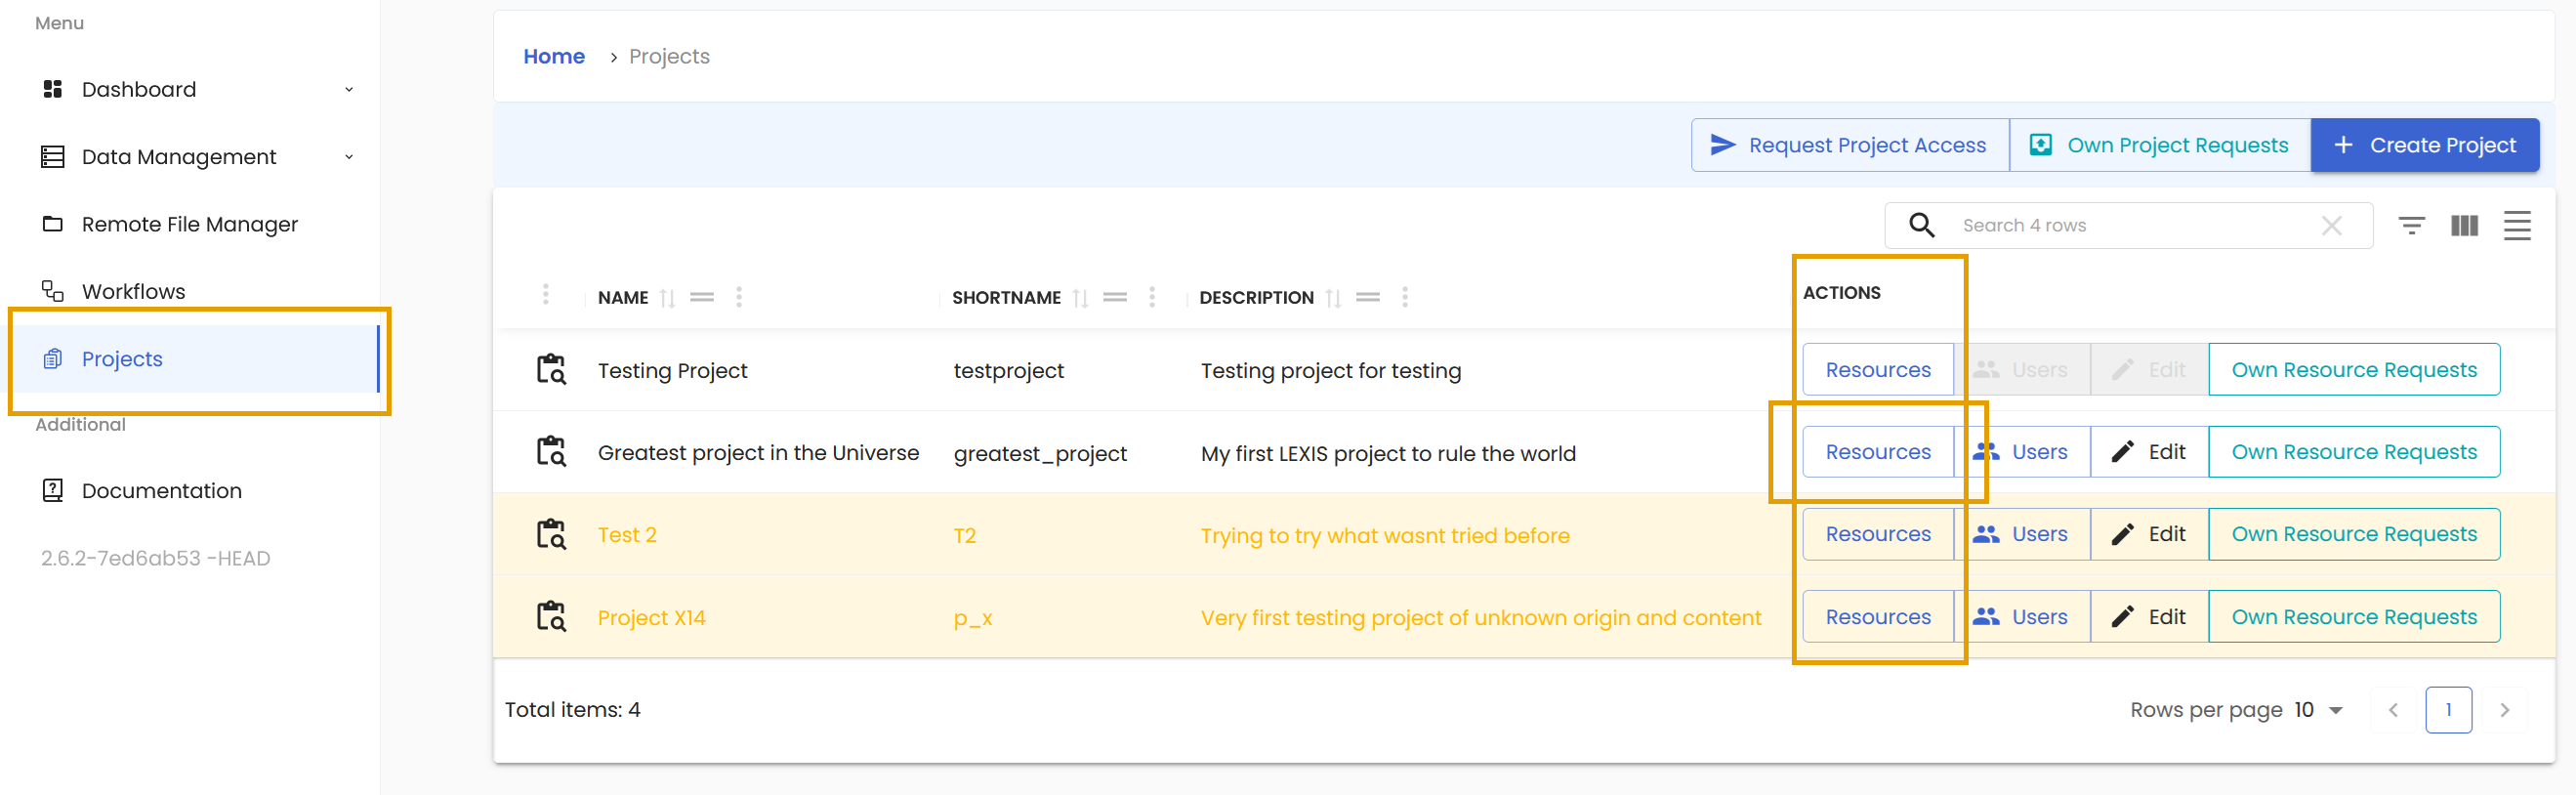
The process of joining starts in the Projects section in the navigation menu on the left. At the top right area of this section, you can find the Request Project Access button.
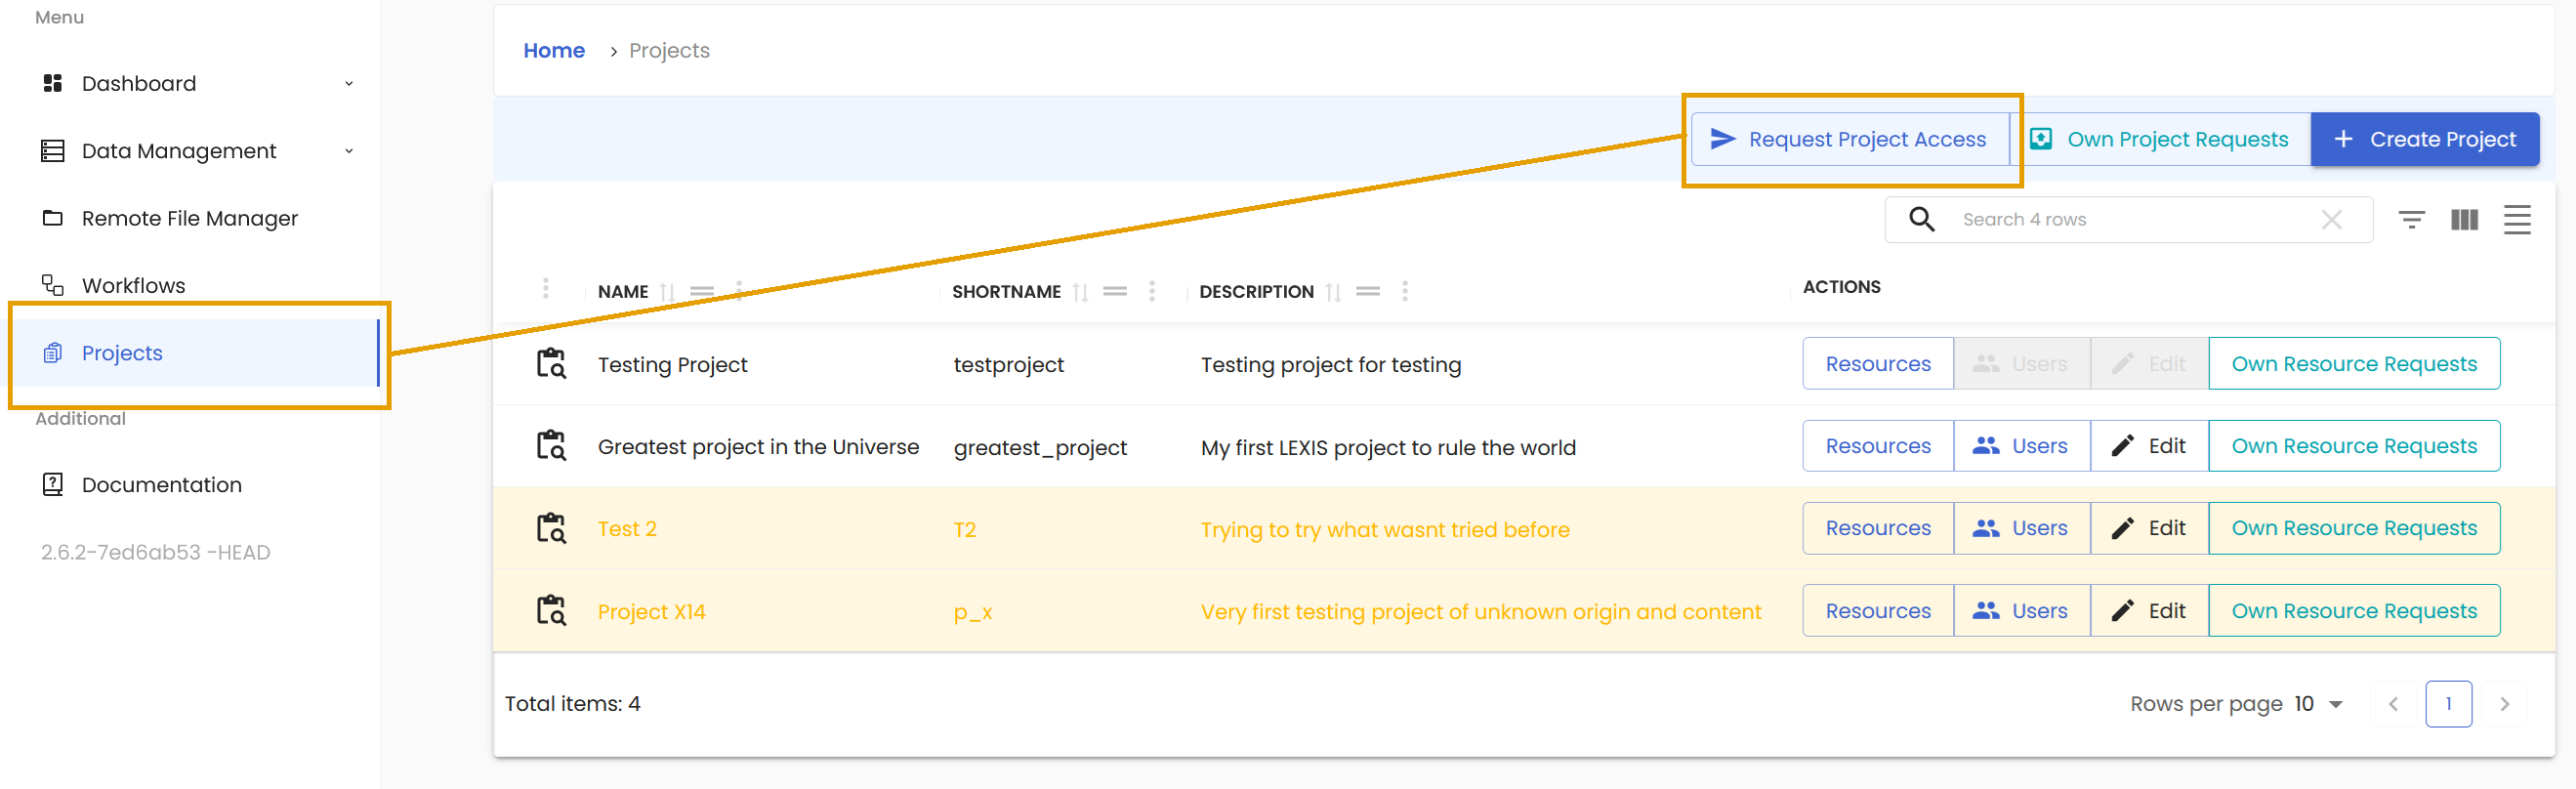
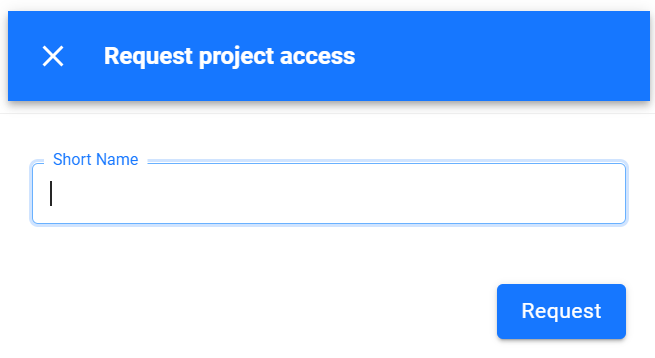
When you click it, the window will appear. Simply write in the short name of the project you wish to join and hit the Request button.
The request will be sent to the Project Owner, who must approve the access to the project and assign you the appropriate role within it (Managing members of LEXIS projects as a project manager).
You will be notified via email when the project owner processes your request and grants you (or refuses) the access to the project.
You can monitor the history of your project requests when you click on the Own Project Requests.
Requesting computation resources for a LEXIS Project#
You need LEXIS Computing Resource to execute workflows and store files. You will need one resource for computation time and one resource for data storage allocation. To gain access to the required resources, click on the Resources button next to your created project on the Projects page.
This will display a list of resources already allocated to the LEXIS Project. Here, you will find the Request Resources Access button. In the LEXIS project, only the Project Manager and the Project Owner has the rights to request a Resources.

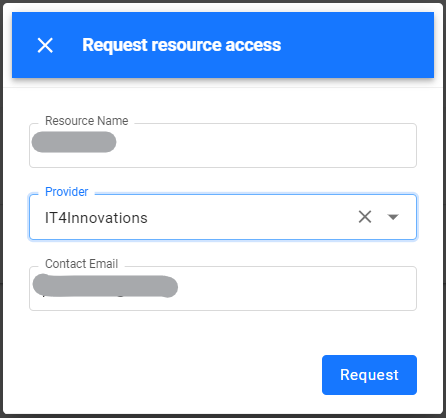
Click on the Request Resource Access button and fill out the form. Please provide the Resources name and the email of the PI for the selected project.
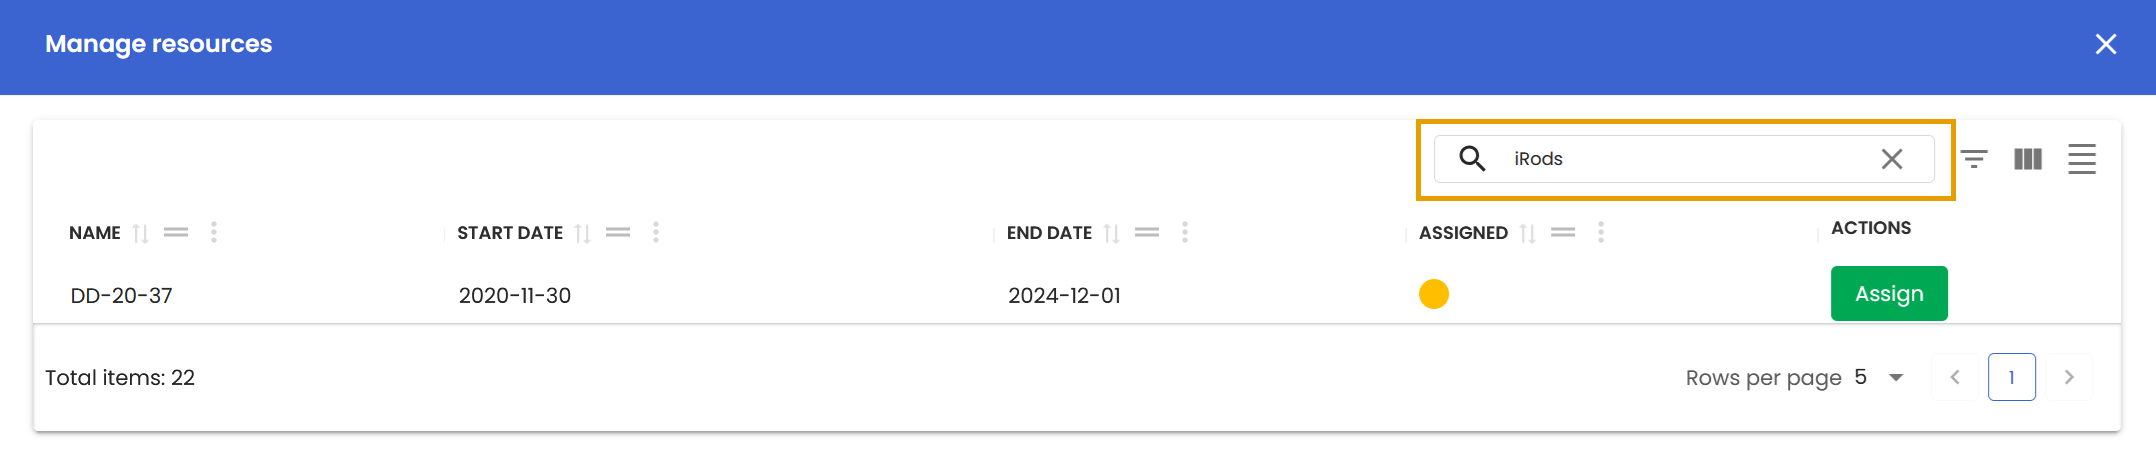
After your request has been successfully submitted, you will be informed about the progress via your email. Now you have to wait until the PI of the resource accepts your request. If you are the PI, an email will be sent to you with a one-time link to accept the request. To assign a storage resource, click on the Manage Resources button located to the left of the Request Resource Access button. In the search field, enter “iRODS LEXIS V2” and click on the Assign button in the Actions column.
The project could not exist without its users, but how to manage them is mainly a job for the project owner. Therefore, we have a dedicated section just for that here: User Management.