
Quick Start#
Is this your first time on the LEXIS Platform? Then this is the great place to quickly learn what’s what and where’s where. This guide will get you through the basics quickly and rocket fast guide you through the initial steps of using the LEXIS Platform via the web portal.
Log in#
Before even getting to the portal, you are required to log in to your user account. And before even logging in, we kindly ask you to accept our cookies. The login button can be found on the right side of the landing page.
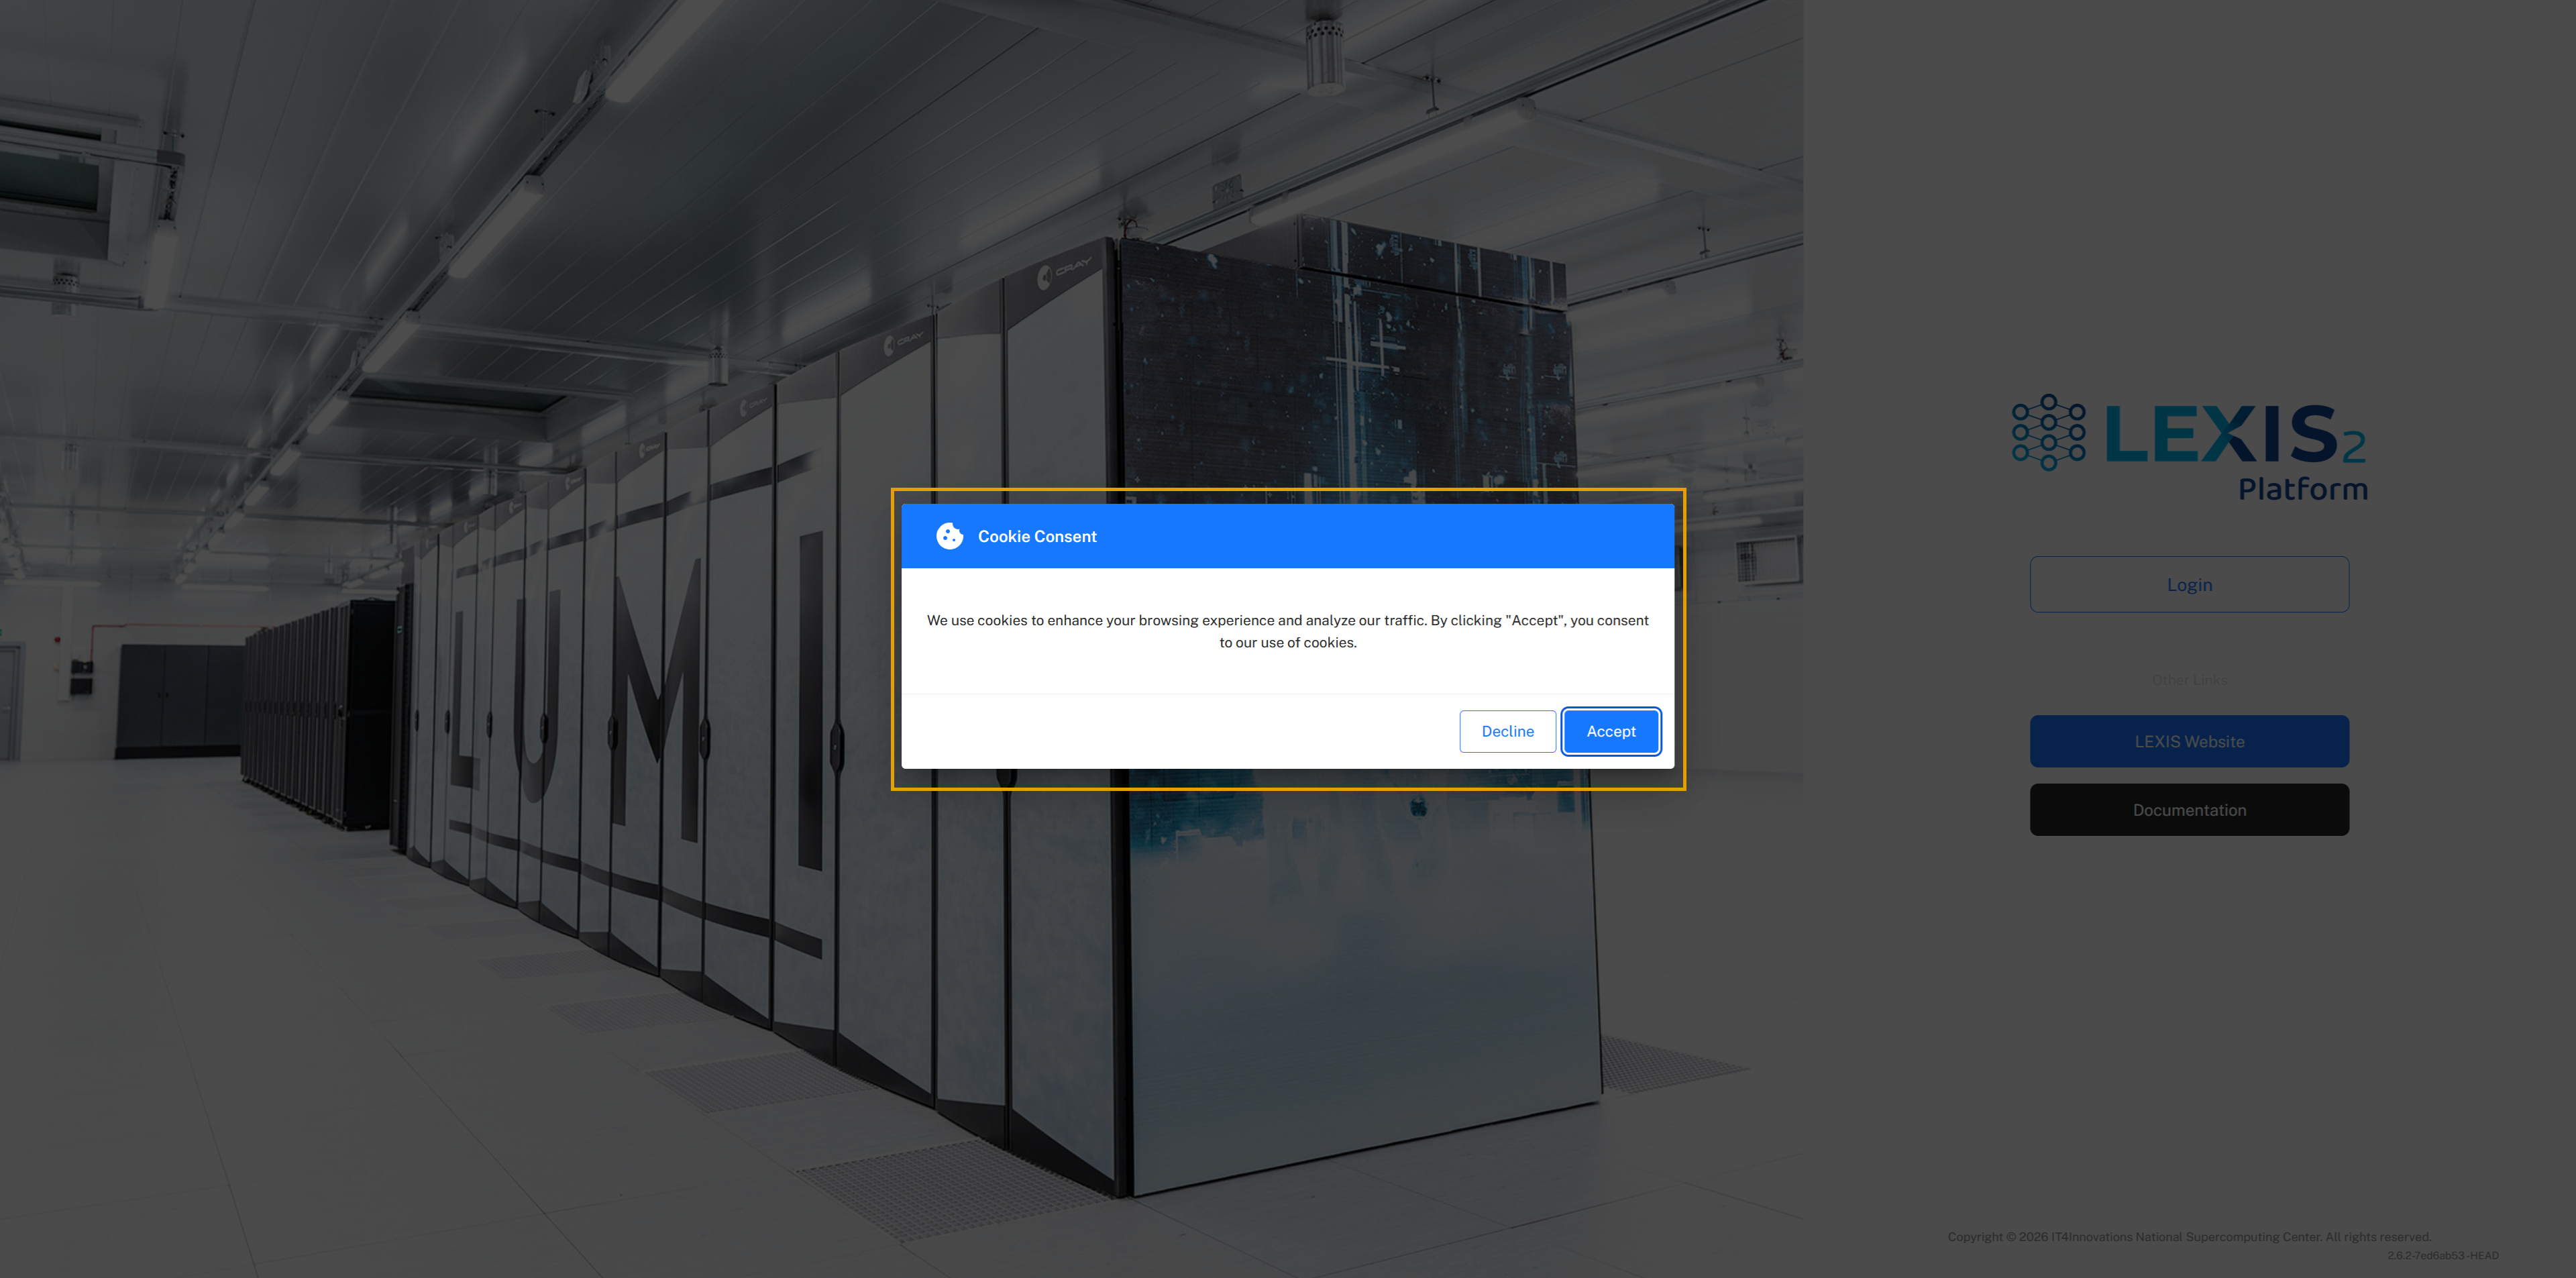
You will be presented with various login options. You most likely want to use MyAccessID (eduGAIN, eIDAS), as this is the most common login method. There are other options, but unless you were specifically told to use them, the recommended method should do.

Look around#
So the login worked, great. Before you lies the LEXIS Platform. There are four important sections.
Main display area
Main menu
Project filters
Your personal space
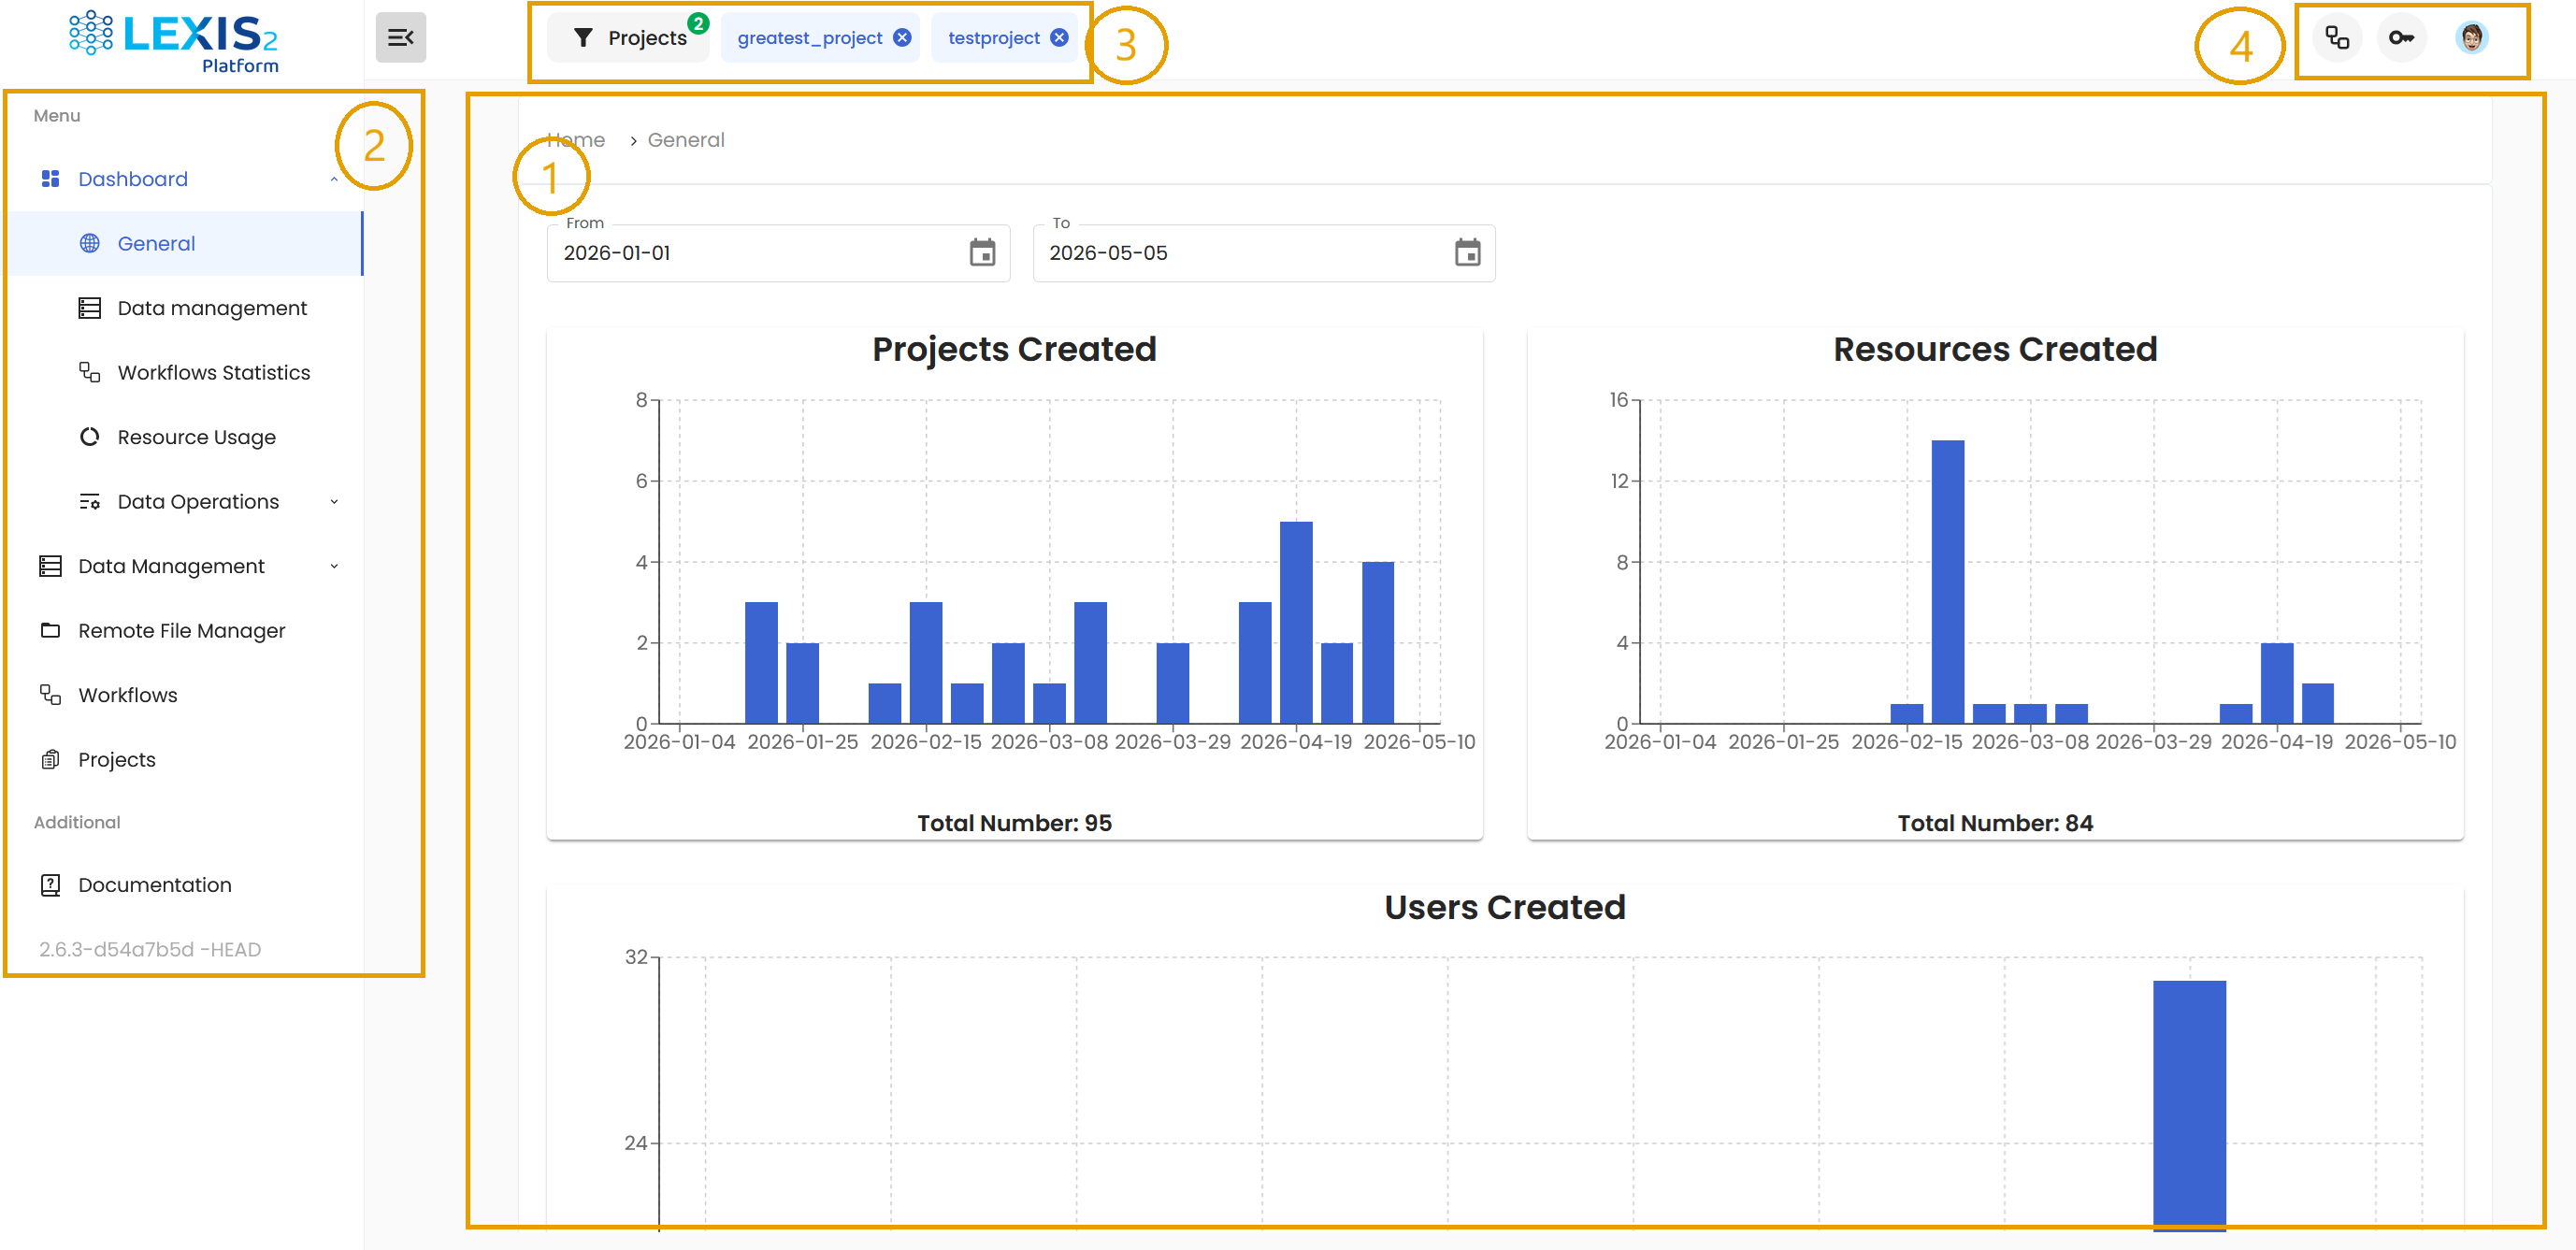
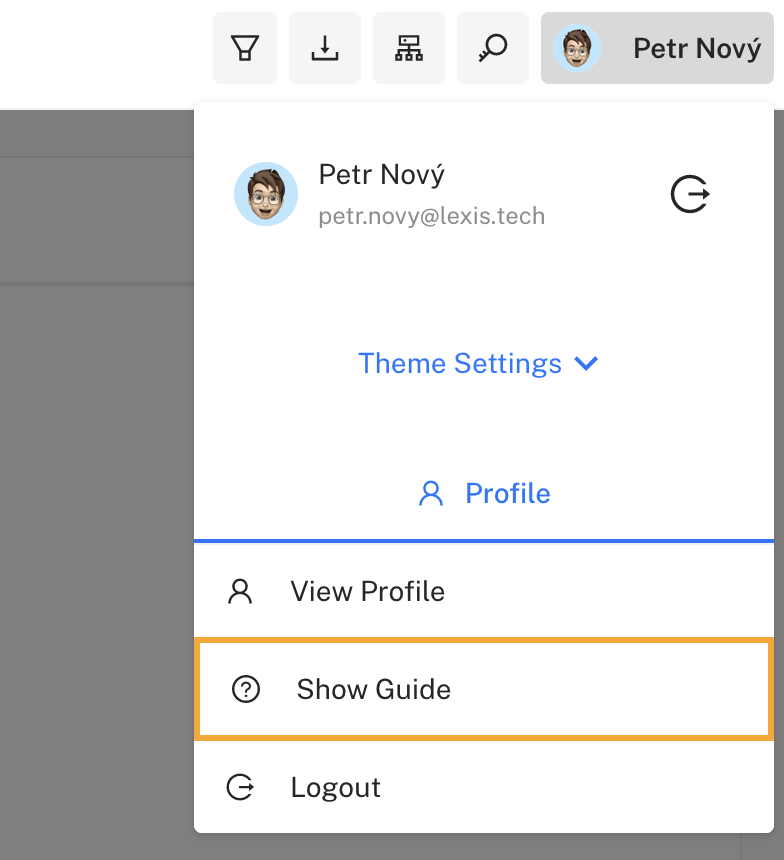
We could extensively describe every nook and cranny of what you can see, but why not use our built-in guided tour to do just that? Simply click on the avatar icon inside your personal space area and choose Show Guide.
Make it your own#
So now you know where to find things. That’s certainly awesome, but what if you don’t like the blue colour? What if the chosen font type makes your eye twitch? Worry not, for you can customise it to your liking. Remember where you could find the Show Guide? Above it is the Theme Settings. Here you can choose your preffered colour and font and switch the light mode. Be sure to make the LEXIS Portal to your liking as you will certainly be spending a lot of time here.

Where to next#
Congratulations! You successfully completed your first steps inside the LEXIS Platform. But what now, you wonder? Now is the time to use it for its intended purpose: to easily access enormous computing power. However, this is way beyond the scope of this swift introduction, so we rather give you some pointers as where to go next.
Are you trying to join a project? Do you need to upload a dataset? Not sure how to make a workflow from a job script and execute it on a cluster? Everything you can do on the LEXIS Platform is described in detail in How-to Guide.
Do you want to create a container and immediately send it to cluster? We have complete tutorial on running your own Container Workflows .
Are you a DSpace user who wants to link his dataset into the LEXIS Platform? We can show you how to quickly connect your DSpace .